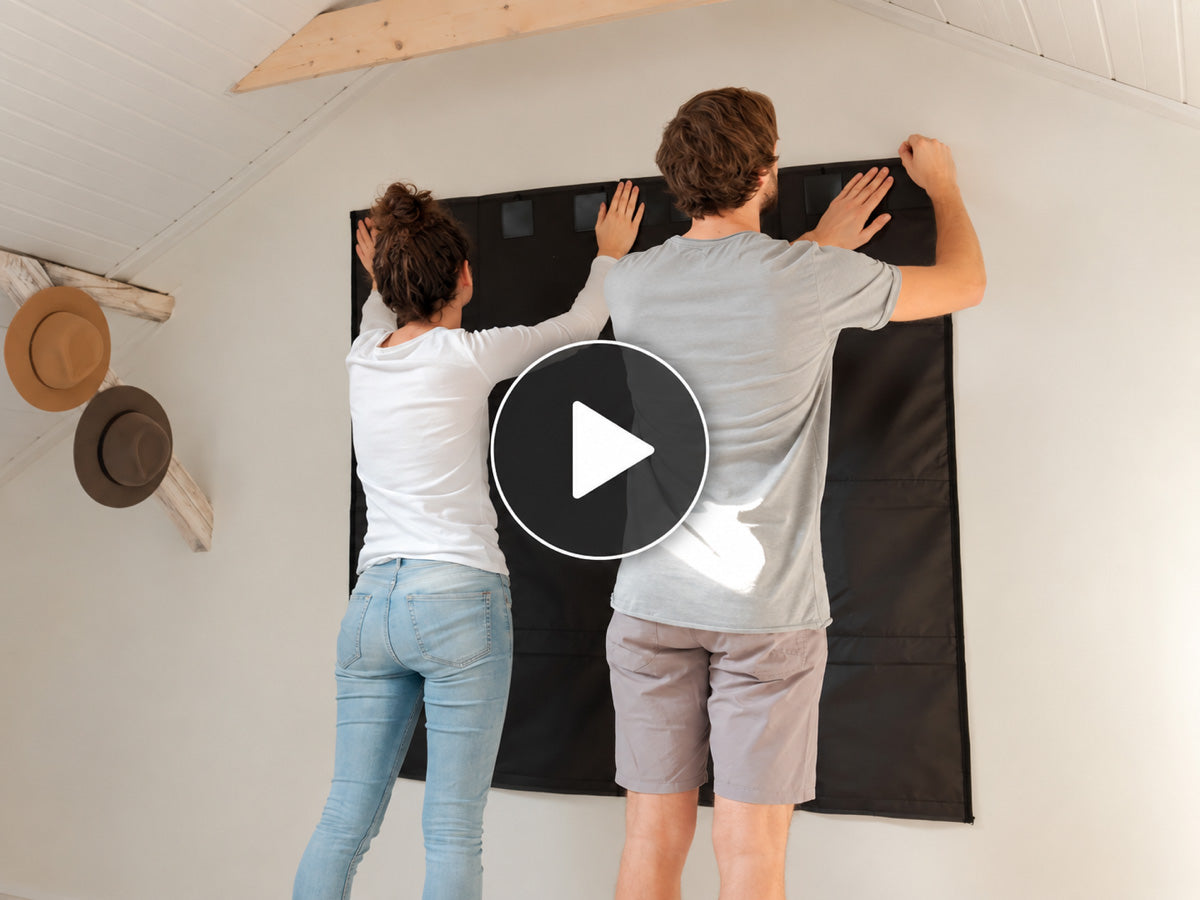
A Record Roots frame turns a wall into a display you actually use — records stay visible, stay reachable, and get swapped whenever the mood changes. Getting there takes a bit of care at the mounting stage, and it's worth doing properly the first time.
Watch the video below, then read through the steps. Everything here matches the printed instructions in your box.
What's in the package
Lay everything out before you start. Each frame comes with the frame itself, a set of 3M Command Strips, hook tape for joining frames together, and screws for the alternative mounting method.
Before you start
Check your wall
3M Command Strips are the main mounting method and they work for the vast majority of customers. What they don't work on is wallpaper, brick, uneven surfaces, or walls where the paint hasn't bonded properly. If your wall is any of those, skip to the screws method further down.
If the wall has been painted recently, wait at least seven days before applying the strips. Fresh paint hasn't fully cured, and strips applied too early can pull it off when removed.
Pick your spot
Keep the frame away from windows, direct sunlight and radiators. Heat and UV fade sleeve artwork faster than anything else in the room.
Don't hang a frame above a bed, a crib, or directly above your turntable.
Get a second pair of hands
You can do this alone, but holding a full-size frame flat against a wall while checking alignment is much easier with someone helping — especially if you're hanging several joined frames.
First: join your frames
If you're hanging more than one, connect them before anything goes on the wall. Each frame displays 8 records, and they're designed to link into a larger display.
Lay the frames flat, then use the included hook tape to join them, attaching it to the loop strips on the back along the long edges. Check every join is firm before you go further. This applies whichever mounting method you use.
Method 1: 3M Command Strips
1. Position the frame
Hold the frame against the wall and move it left and right until you're happy. Step back and look, or ask whoever is helping you to check it from a distance.
Once you've decided, make a small pencil mark at the top left and top right corners. Then set the frame down on the floor — the next few steps happen off the wall.
2. Mark a level line
Working between your two corner marks, add small pencil marks every 15cm / 6 inches. These need to form a straight, level line.
A useful trick: stretch a piece of string tightly between the corner marks and use it as your guide.
This step matters more than it looks. If the line isn't level, the frame's weight lands unevenly across the strips instead of being shared between them.
3. Clean the wall
Wipe the mounting area gently with isopropyl alcohol and let it dry completely.
Don't use household cleaners, sprays or wipes. They leave a residue behind that stops the adhesive bonding properly — this is one of the most common reasons strips fail.
4. Attach the strips to the frame
Take two 3M Command Strips and click them together. Stick one side onto each plastic sheet on the back of the frame, pressing firmly for 30 seconds. Repeat at every attachment point.
5. Stick the frame to the wall, left to right
Peel the backing off the strip at the far left. Line the top edge of the frame up with your pencil marks and press firmly for 30 seconds. Work across the frame, peeling and pressing each strip in turn.
Support the frame's full weight the whole time. The strips won't hold it yet.
6. Take the frame back off
Still supporting the weight, peel the frame away from the wall so each strip separates into two halves. Be careful not to pull the wall-side halves off with it.
7. Press and wait
Press each wall-side strip again for a full 30 seconds, then leave it for an hour before hanging anything.
It's tempting to skip this. Don't — the adhesive needs that time to reach full strength, and this is the step that determines whether the frame is still on the wall in a year.
8. Hang the frame
Line the strips on the frame up with the strips on the wall and press until they click together.
9. Load your records
Start at the top left slot and work across the row before moving down. Slide a finger along the top or bottom edge of each sleeve to tuck it into place.
10. Fix the bottom corners
This comes after loading on purpose. A loaded frame settles into its final shape, so fixing the bottom corners now sets it flush against the wall exactly as it will hang. Do it while the frame is empty and you're locking in a shape it won't keep.
Remove the red liner, attach the strips to the bottom corners on the back of the frame, peel the wall side, and press the frame against the wall for 30 seconds. The result is a frame that sits flat, with no shadow gap underneath.
Method 2: screws
If your wall isn't suitable for adhesive — wallpaper, brick, uneven surfaces — use screws through the eyelets behind the top edge of the fabric instead.
Check the wall for hidden cables and pipes before you drill.
Removing your frame
Take the records out first. Never try to remove a loaded frame.
Lift the frame off the wall-side strips. Then release each strip by holding your hand flat against the wall and stretching the tab straight down, slowly. Pull downward rather than toward you, and don't rush it — the slow, straight pull is what lets the adhesive release without taking paint with it.
Fabric care
Clean the fabric with a damp cloth, and let it dry completely before putting records back in.
Need a hand?
If something doesn't look right, email us at [email protected] and we'll help you sort it.
And once your display is up, we'd love to see it. We run regular competitions for the best customer setup photos — enter at record-roots.com/pages/contest.